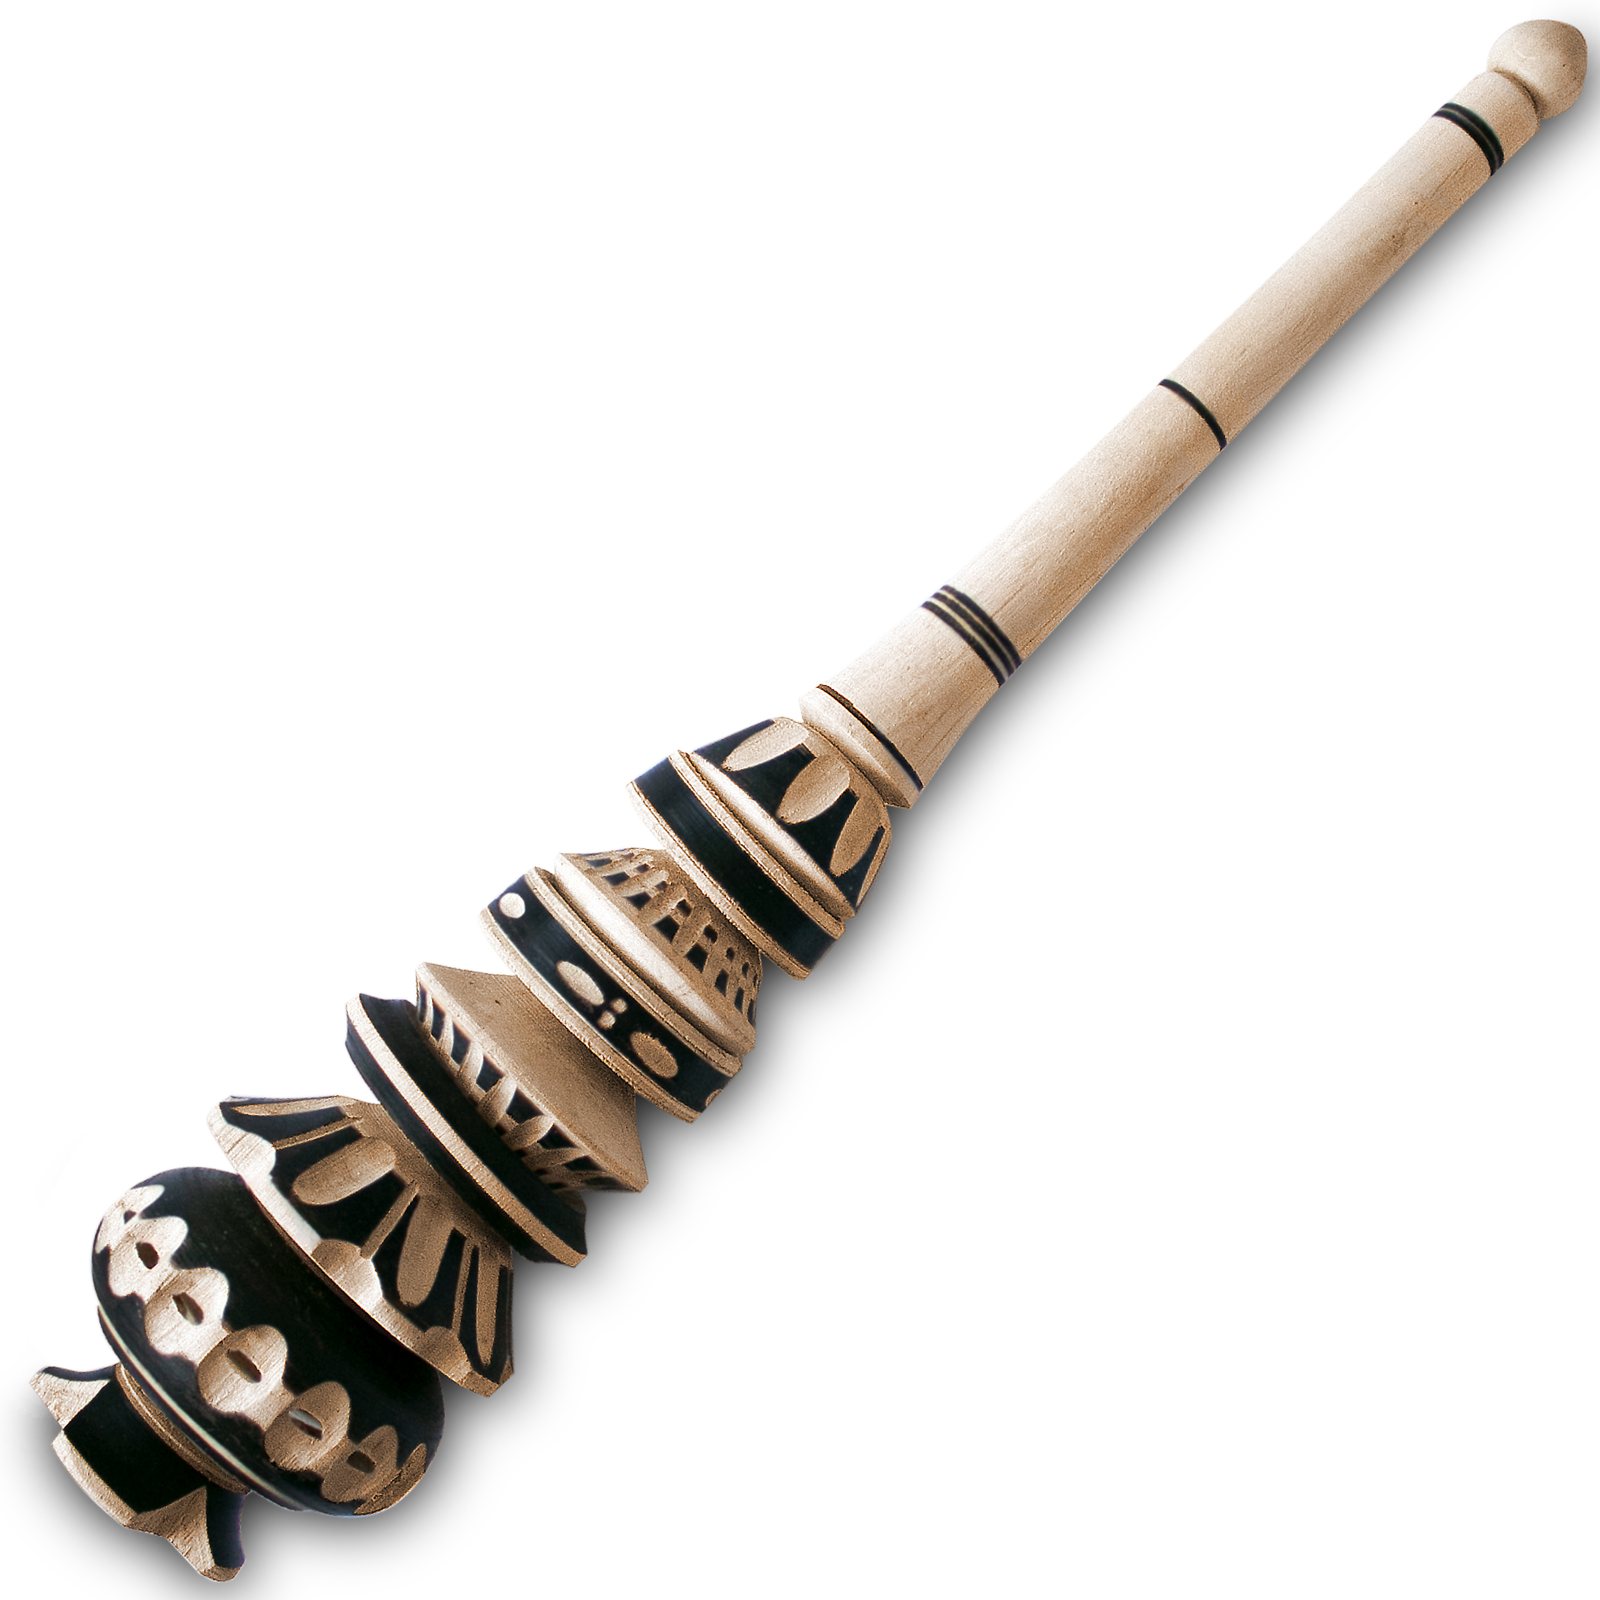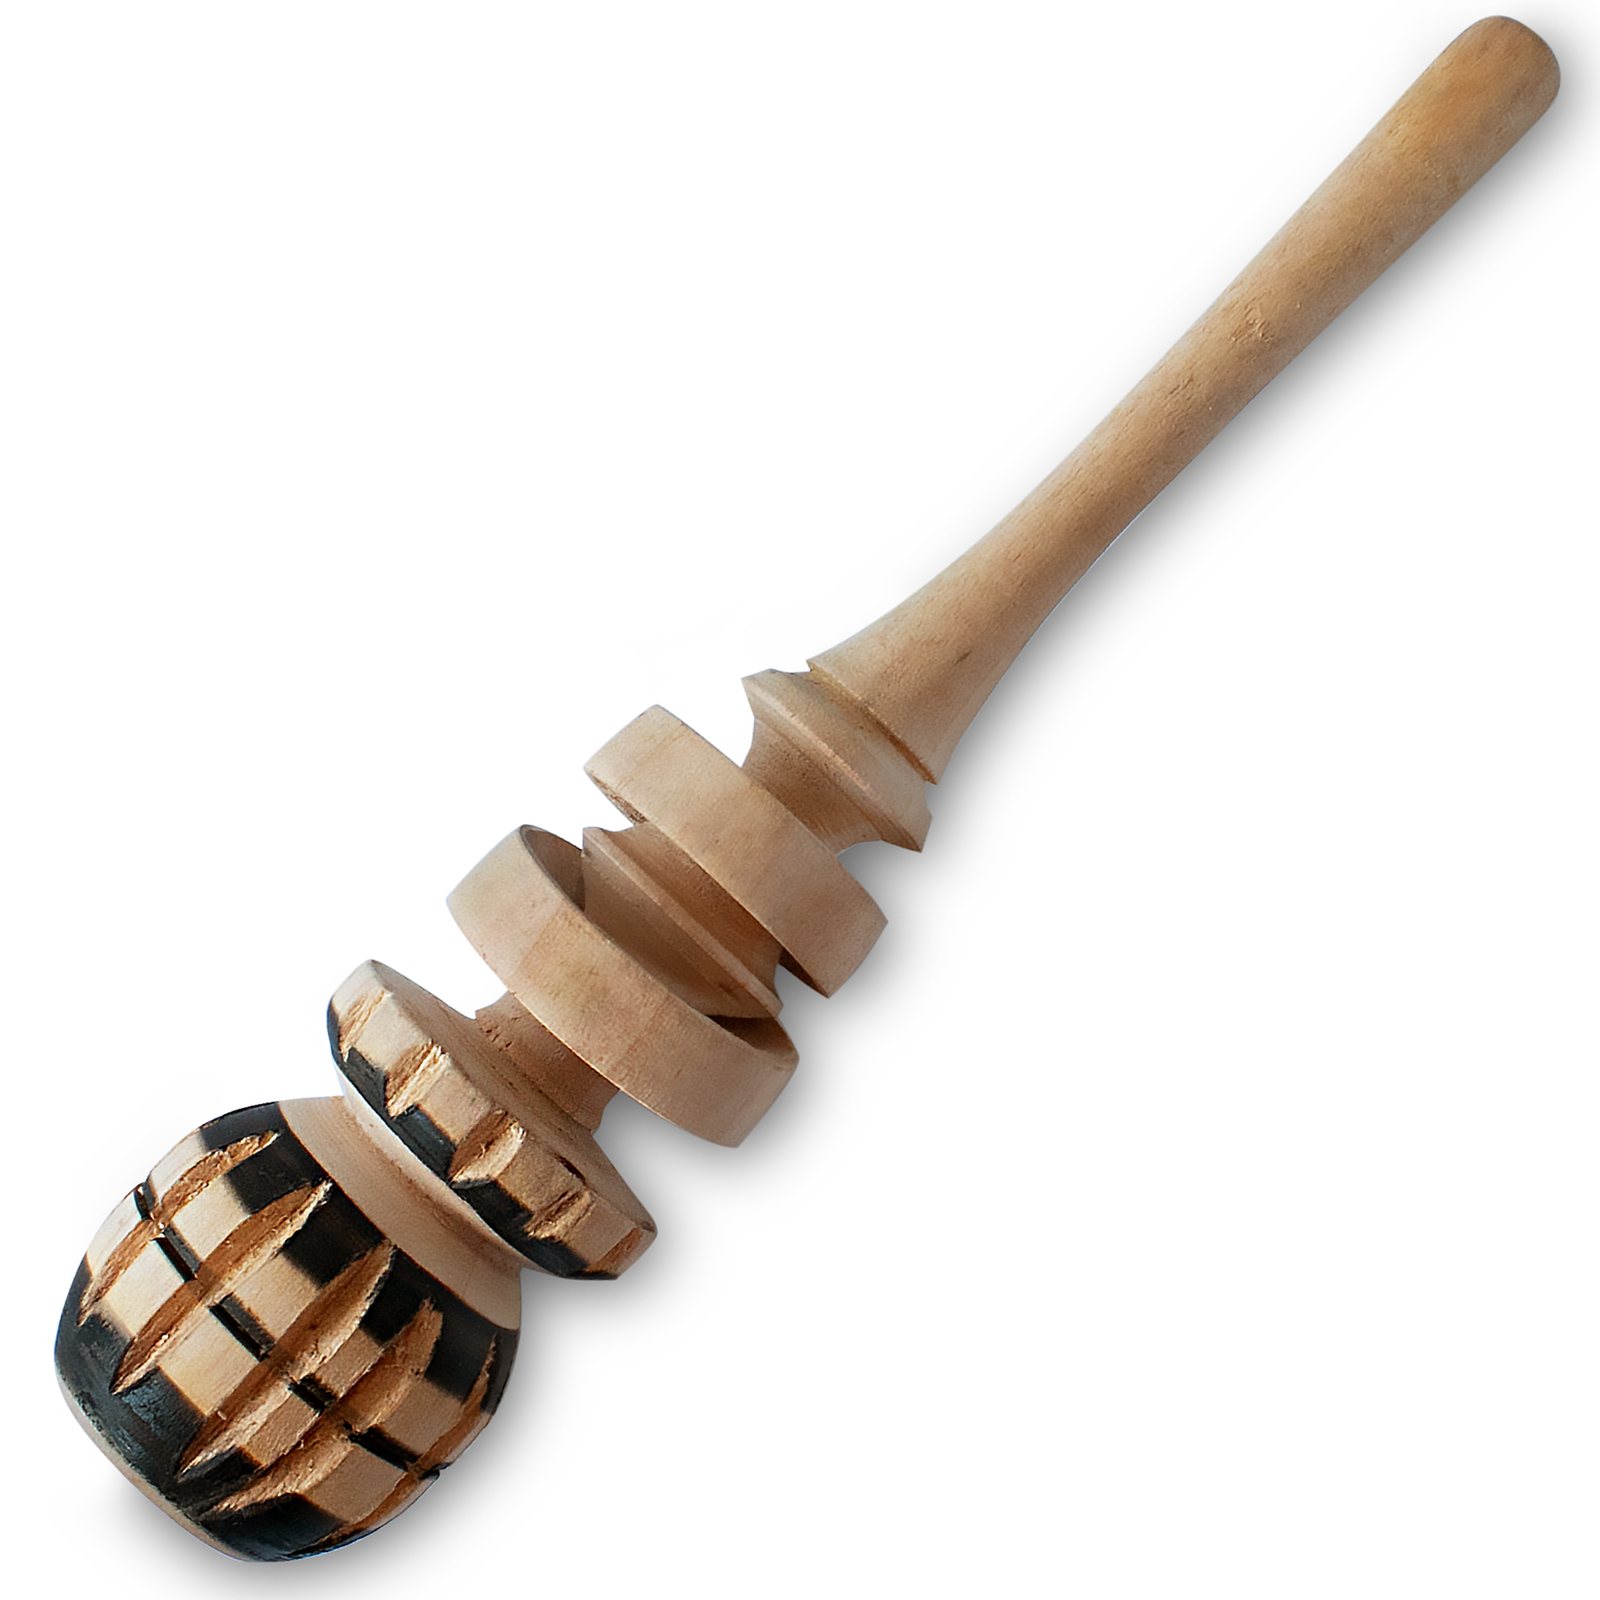
The Molinillo Technique, Step by Step
Start with your warm milk and melted chocolate, or your prepared atole, already in a pot, pitcher, or mug. From there, using a molinillo comes down to three steps.
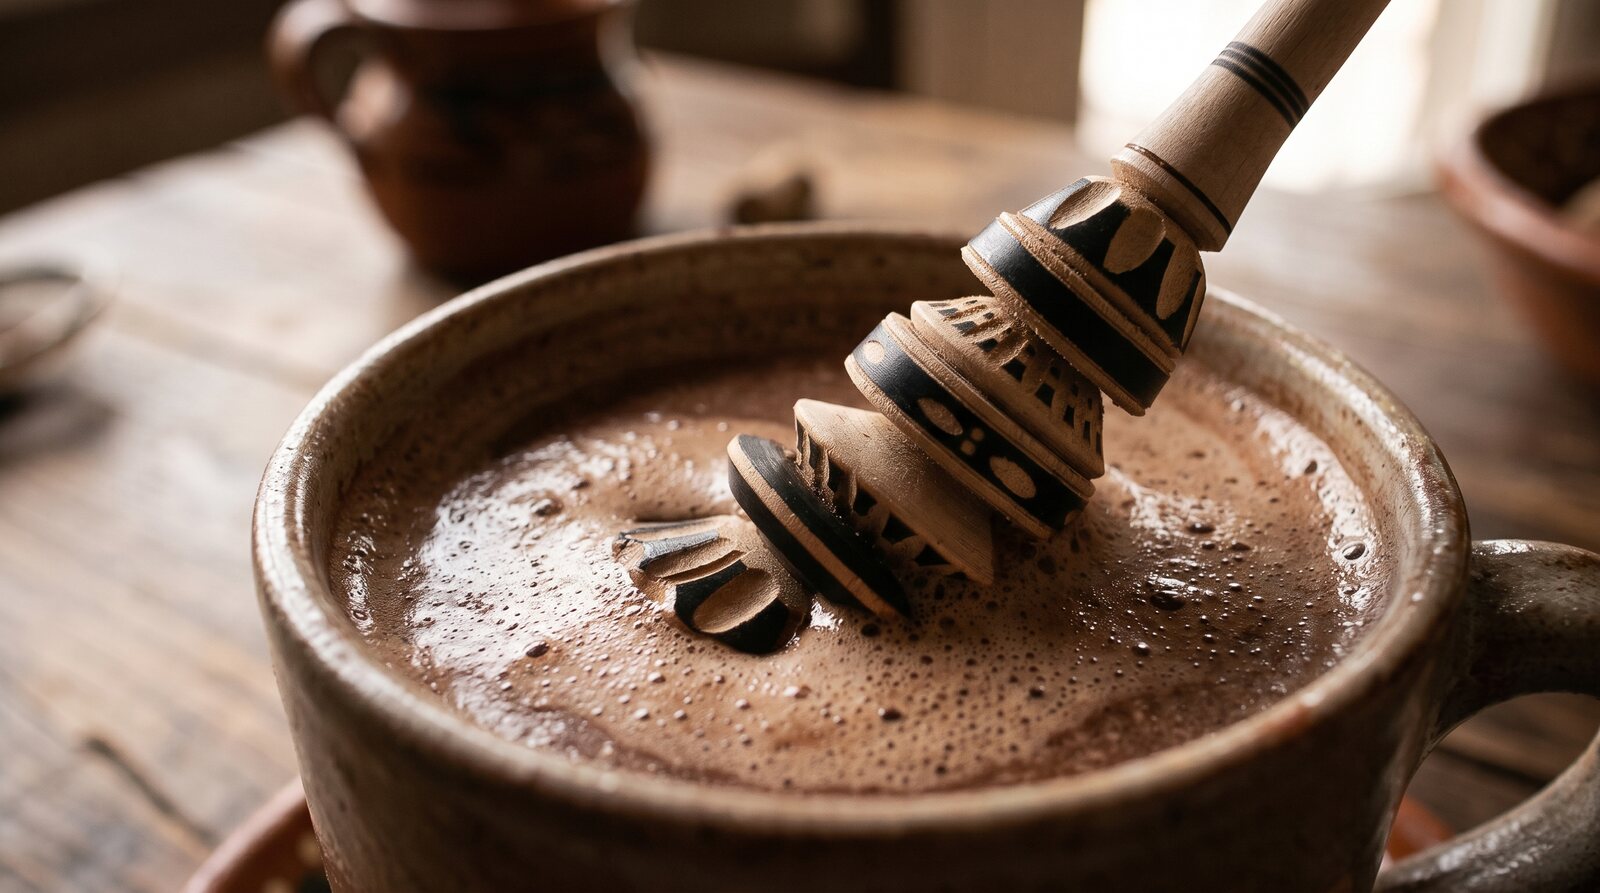
Submerge the Carved Head
Lower the molinillo into the liquid so the carved rings are fully submerged near the bottom of the pot, pitcher, or mug. This is where the froth actually forms, so if the head can't reach the bottom of your vessel, you'll get less foam no matter how long you whisk.
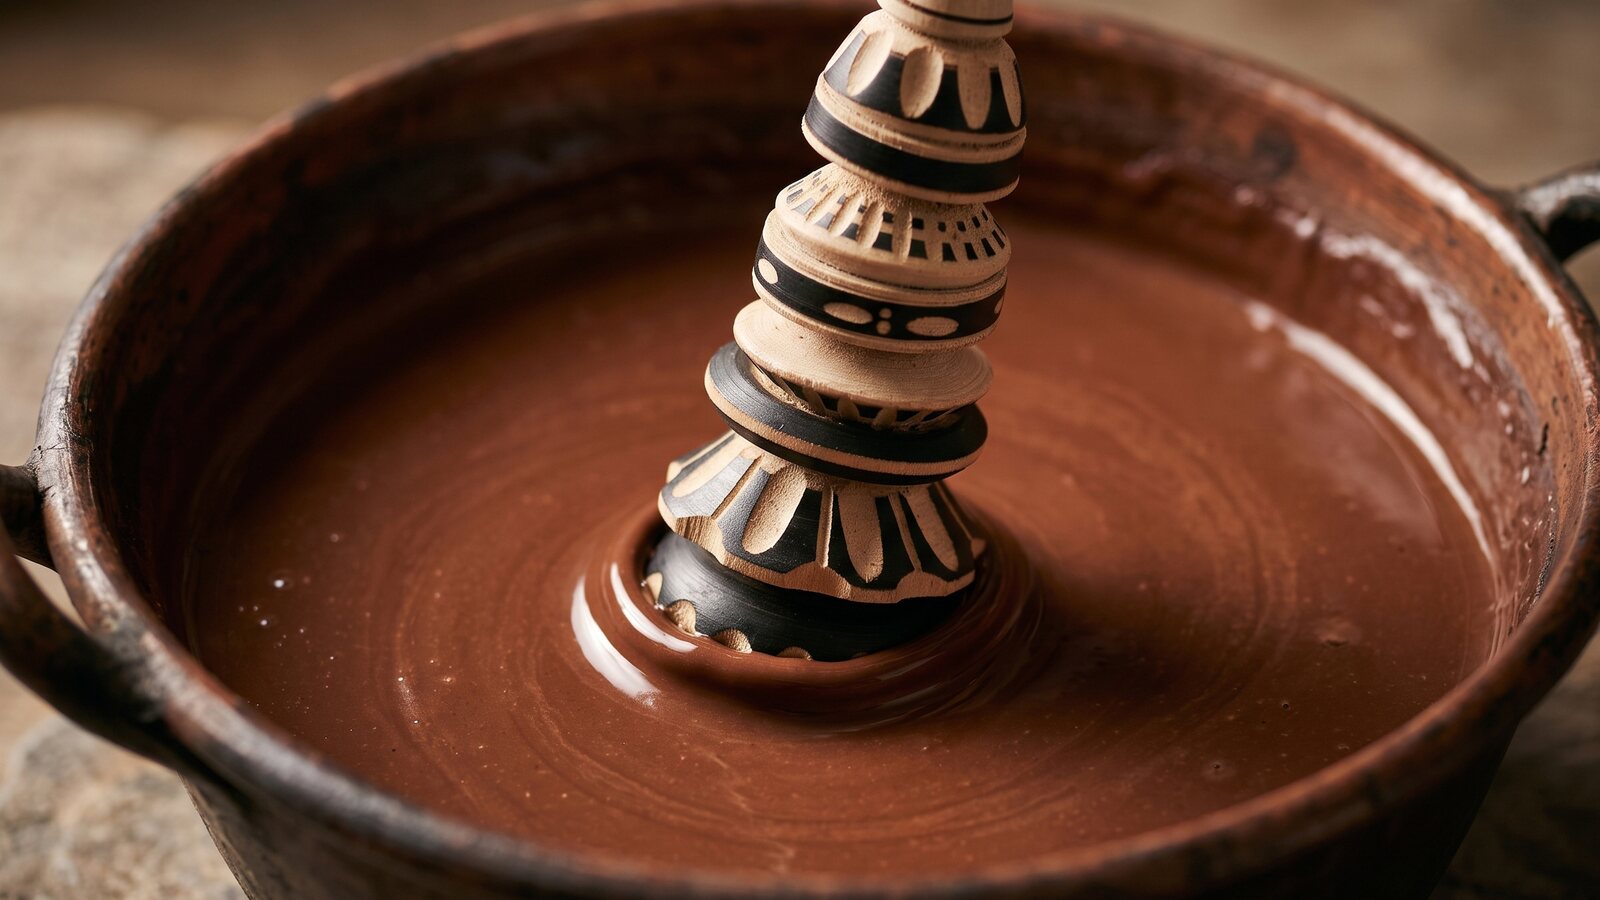
Roll the Handle Between Your Palms
Place the shaft between your palms and roll it back and forth in quick, steady motions, the same way you'd rub your hands together to warm them. This spins the free rings rapidly, which is what actually whips air into the liquid.
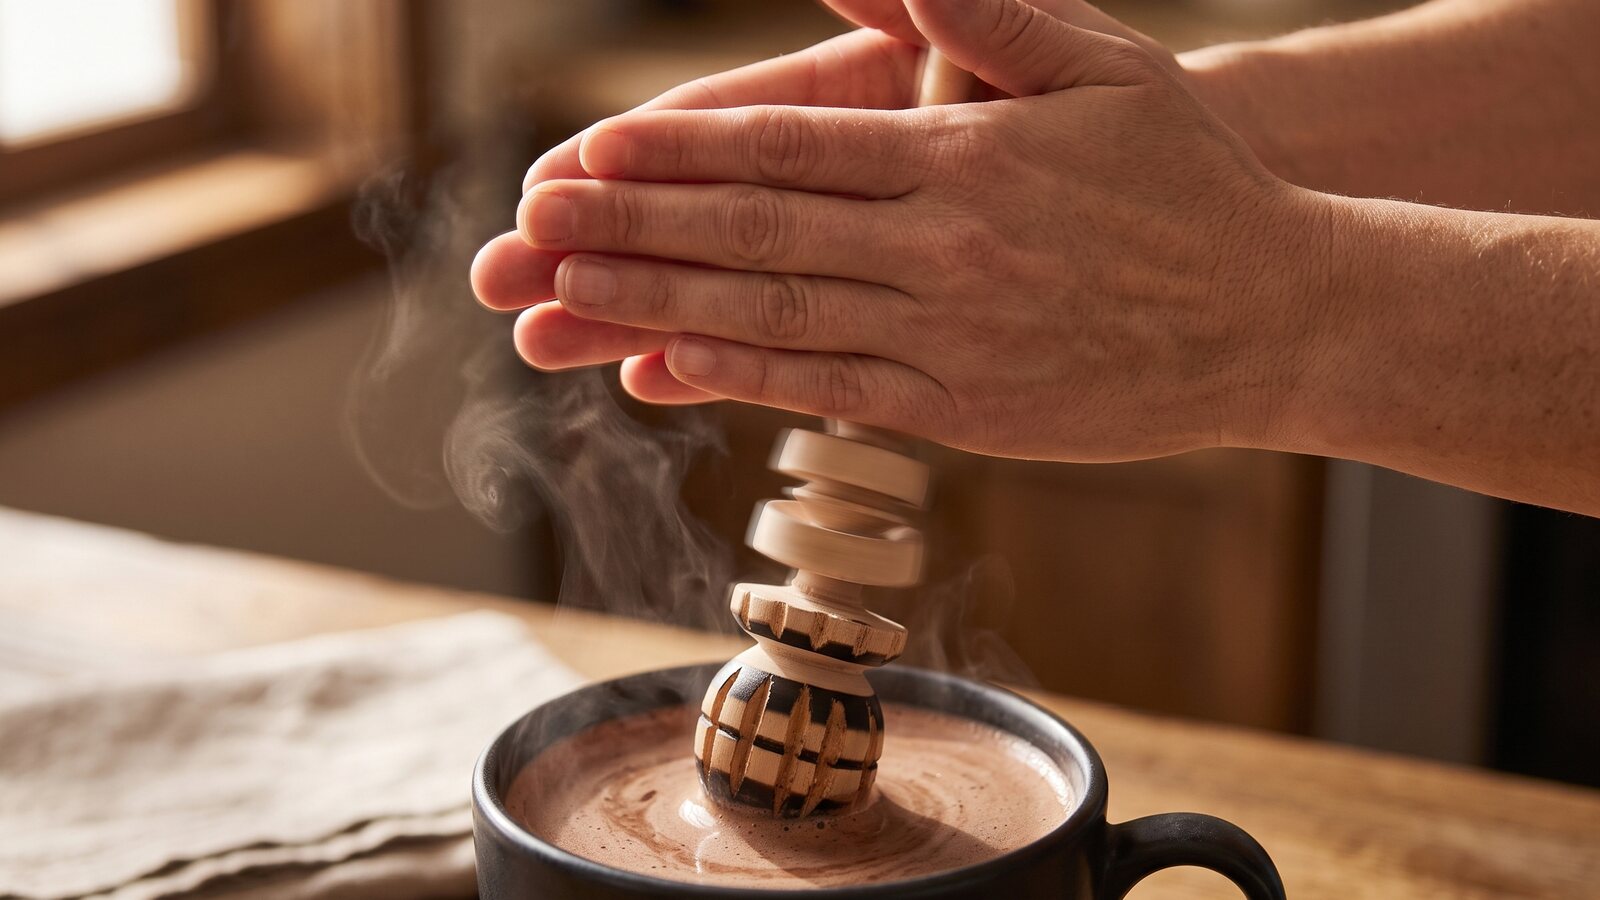
Whisk Until Foamy, Then Serve
Continue for roughly thirty seconds to a minute, moving the molinillo slightly up and down as you roll it, until a thick foam rises to the surface. Pour or ladle immediately while the foam is at its best.
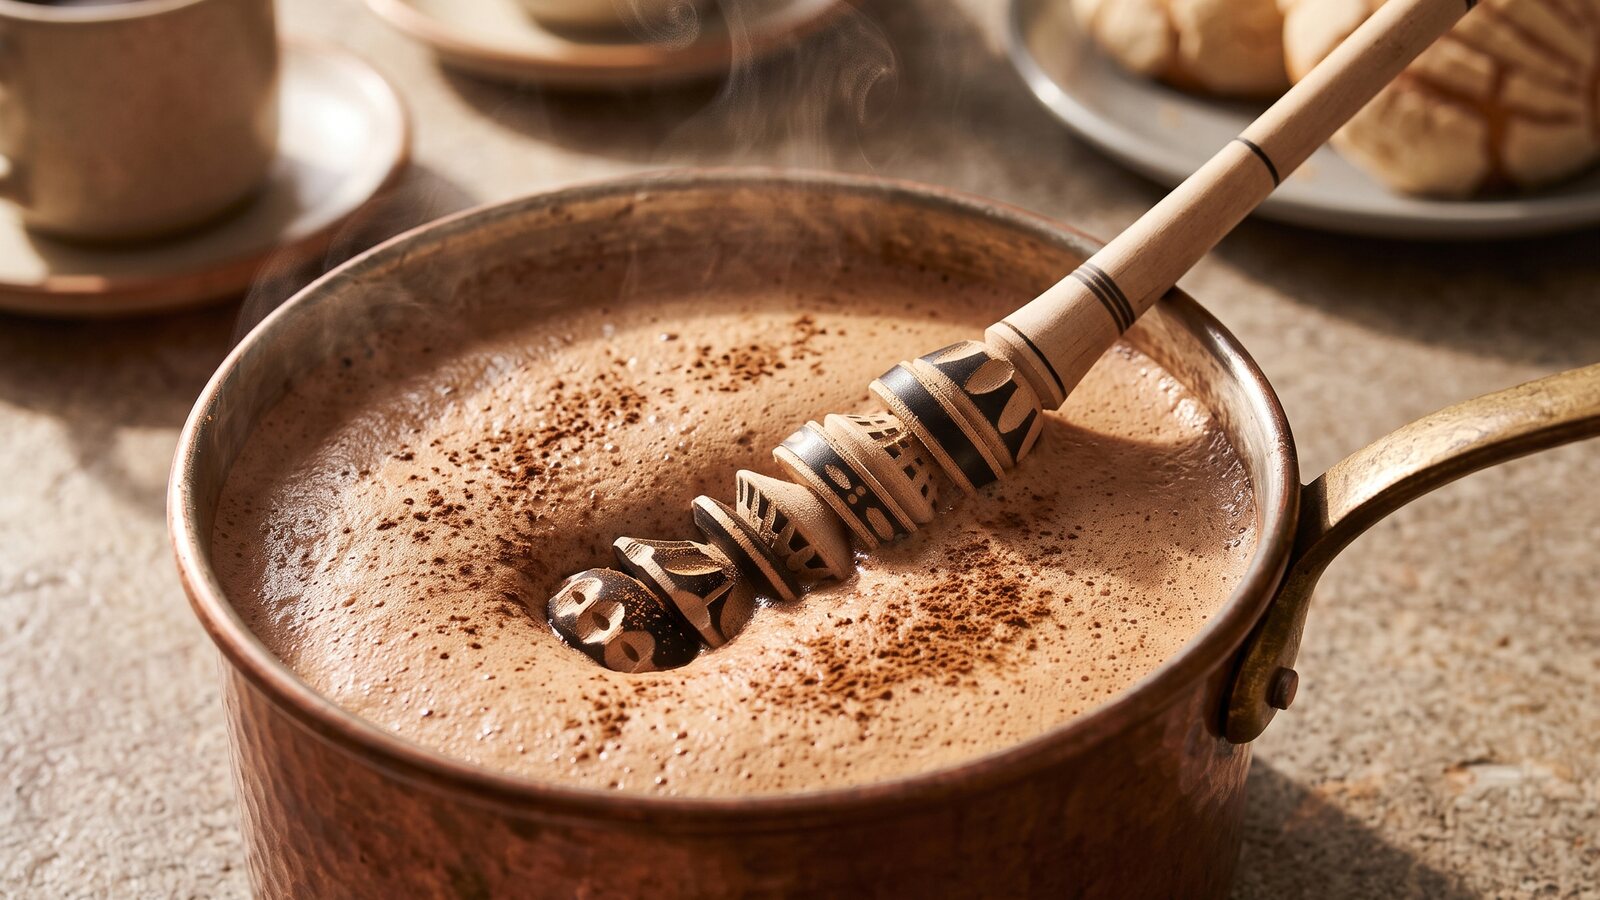
If Your Foam Comes Out Thin
A few things determine how much foam you get:
- Submersion depth. If the molinillo's head can't fully reach the bottom of your vessel, it can't aerate the liquid where most of the froth actually forms.
- Vessel width. Very narrow mugs or travel cups can be too tight for the rings to move properly — a wider mug, pot, or bowl-shaped cup generally works best.
- Liquid thickness. Thinner liquids like standard hot chocolate foam up faster than thicker ones like champurrado, which may take a bit longer since the added masa gives the liquid more body to work through.
The same technique is used for Mexican hot chocolate, champurrado, and atole. For more on the tool itself, see our What Is a Molinillo? guide, its history, or how molinillos are handmade. To see this technique in action on either size, visit our Large and Small handmade molinillos.